Example - IoT device integration
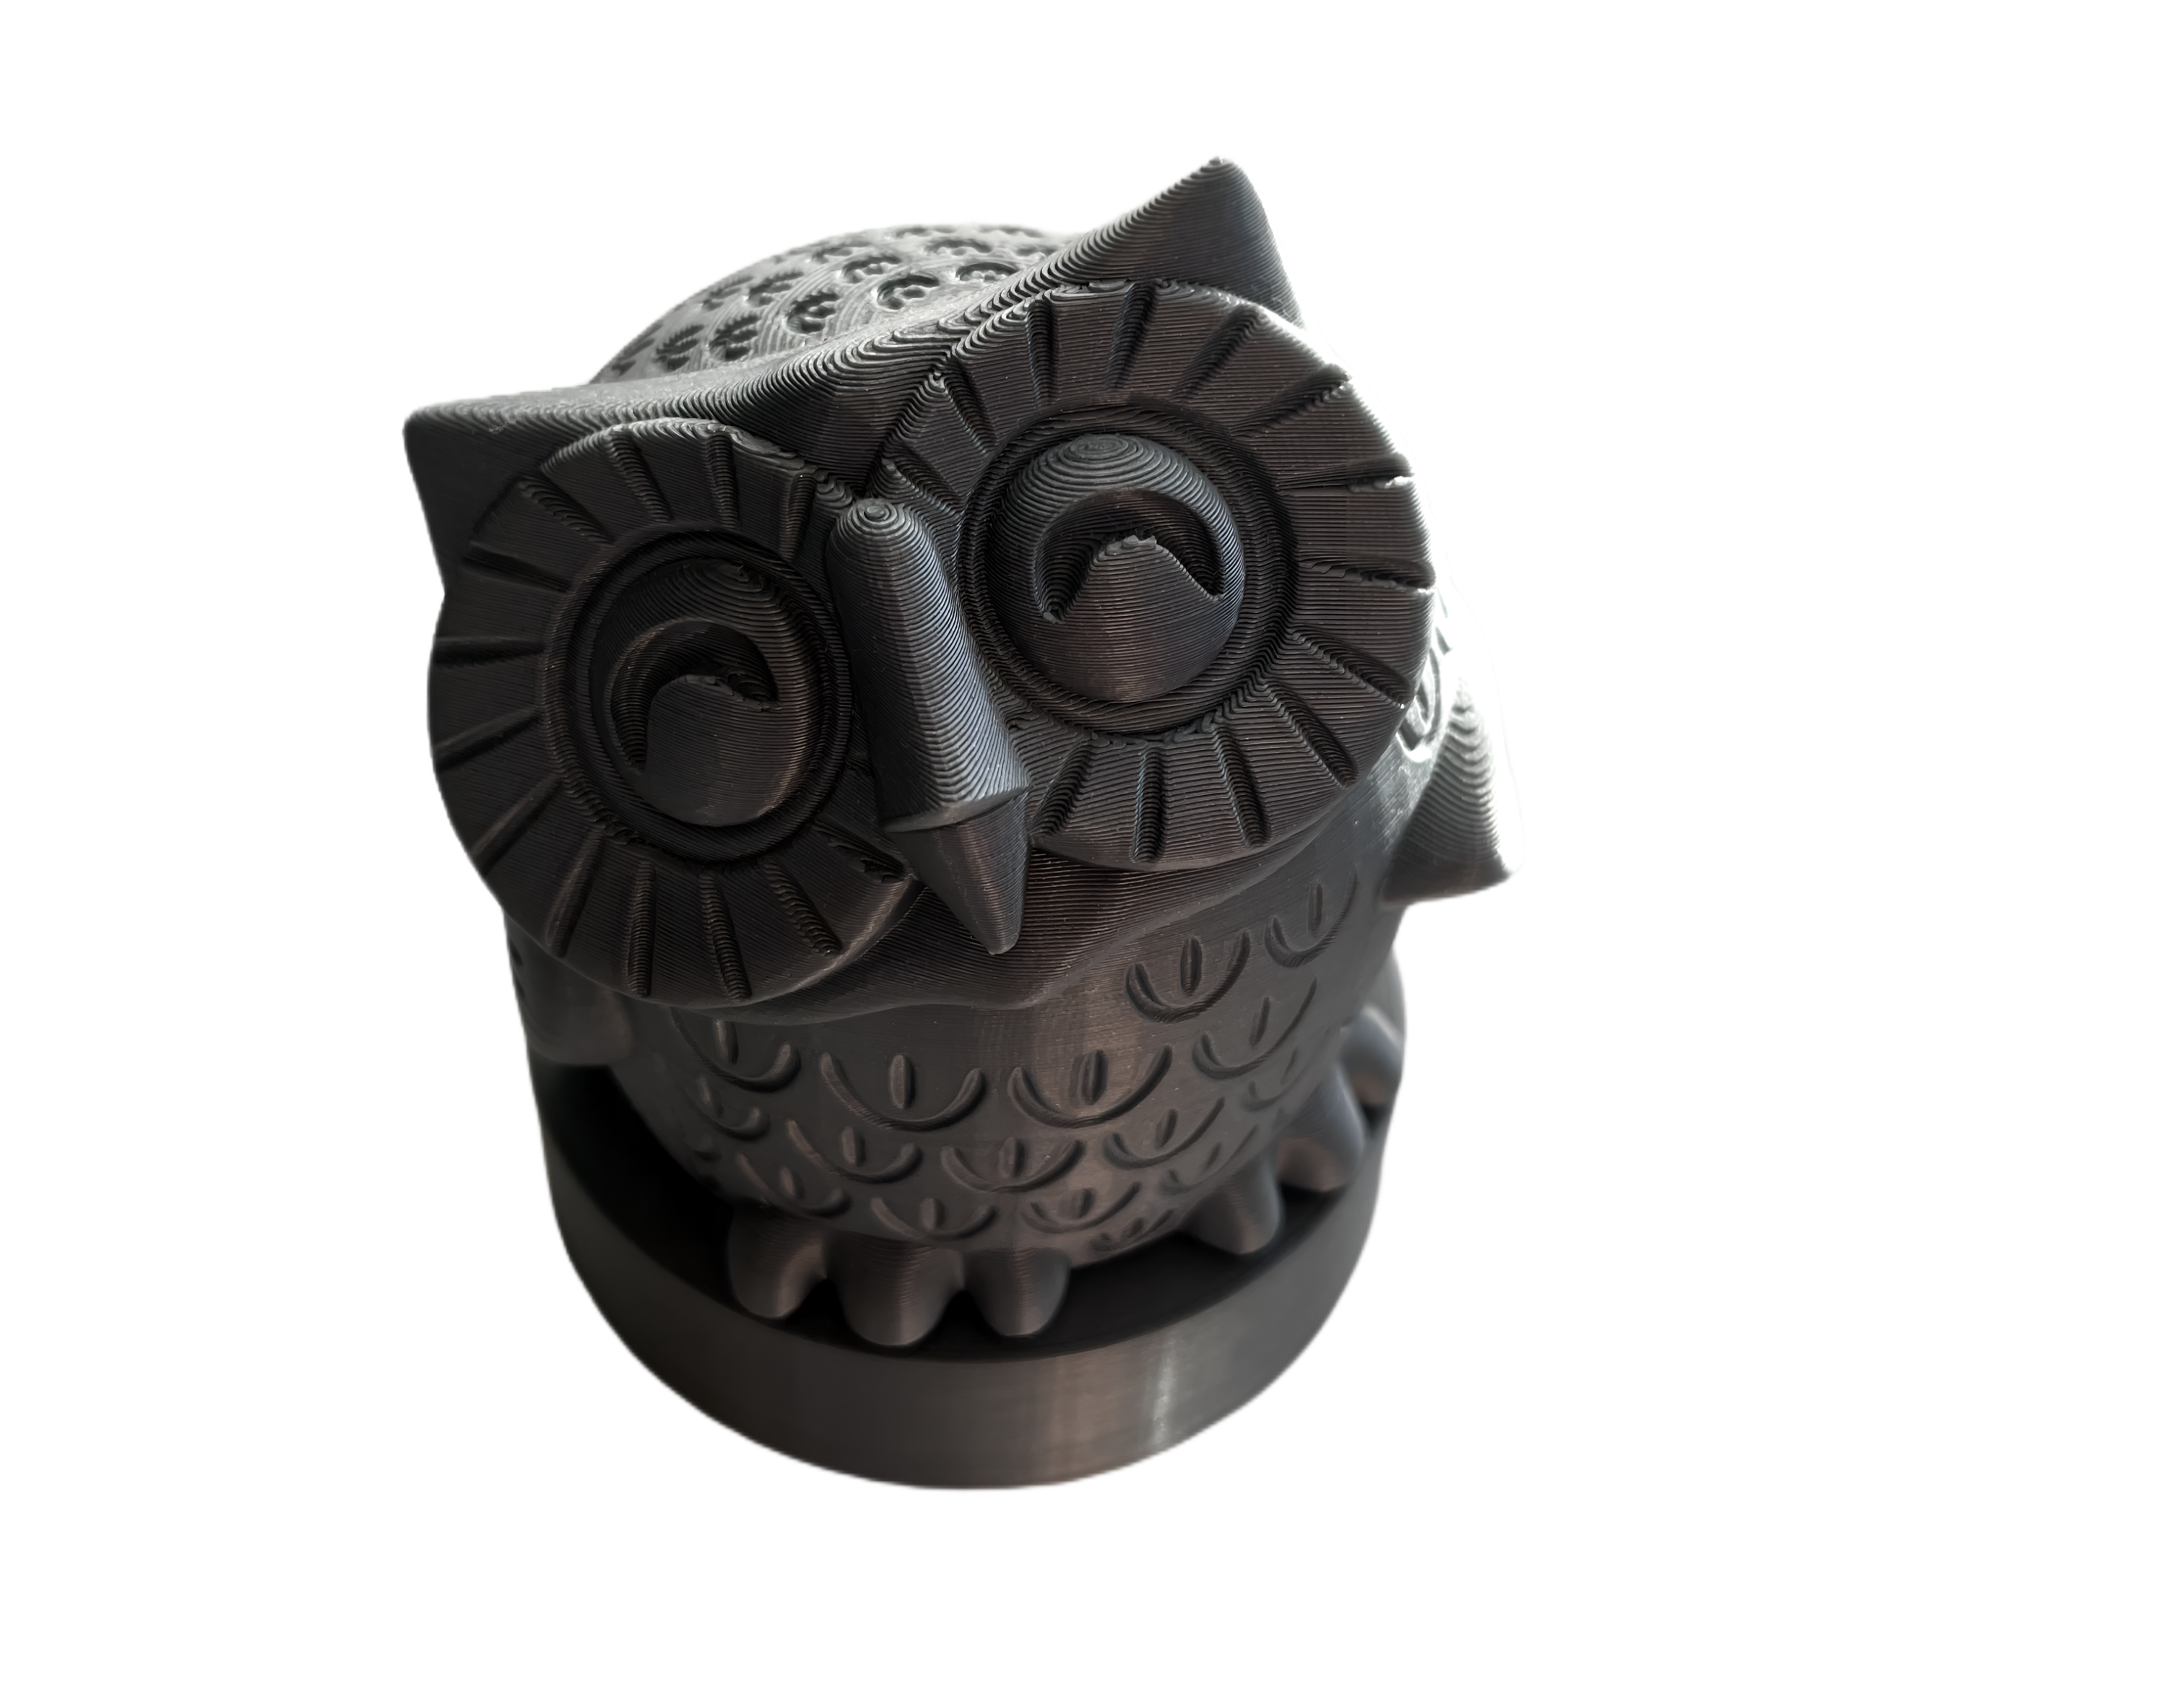
Plugins can be also used for processing events generated within Hubro. This enables you to, for instance, initiate custom actions when a new participant joins a study or when a new questionnaire is completed. In this example, we will create a plugin that integrates a Do-It-Yourself IoT device — a 3D printed owl with a LED light. The light is intended to indicate newly completed questionnaires in your study.
Assembling Hubro
For the sake of this tutorial have reused the model available here. The filament used to produce a Hubro such as the one in the picture below is a standard PLA filament. The printer settings was layer height of 0.2mm, no supports needed.

In addition, we need the following components:
RaspberryPi Zero W (or similar that fits in the Hubro's intestines)
Power supply
LED light
2 female-to-female jumper wires
Generating a new Hubro plugin
Follow instructions in the Preparations sections of Extending Hubro chapter (if you haven't done that already) and generate a new plugin by running
The command above will scaffold basic structure of your plugin.
Subscribing to Signals
Signals is a Hubro component that facilitates interception of various events that happen in the system. For example, you can use Signals to detect when a new participant has joined your study, or to be immediately informed when a new questionnaire has been filled in. Signals exposes multiple channels that are accessible