AI integration
Hubro seamlessly integrates with MlFlow - a platform for the machine learning lifecycle. Hubro allows researchers to seamlessly integrate a wide range of AI algorithms into their studies, which can then be deployed in mobile applications. Researchers can choose from basic Python functions, advanced ML frameworks like TensorFlow and PyTorch, or even pre-trained models. These models can help with tasks such as prediction, classification, and image recognition, and can be customized to meet the specific needs of a study.
Once the model is prepared and logged using tools such as MLflow, it can easily be served locally or deployed to Hubro for use in a mobile application. This creates a streamlined path for researchers to incorporate cutting-edge AI technology directly into their work, enabling real-world applications of their findings through mobile interfaces.
Preparing your environment
Install Poetry tool by following the guide linked below
Follow the sequence below to set up virtual env in your project
poetry init poetry add mlflow poetry shell
Install Conda tool by following the guide linked below
https://conda.io/projects/conda/en/latest/user-guide/install/index.html
Follow the sequence below to set up virtual env in your project
conda create -n mlflow-env python=3.10 conda activate mlflow-env conda install -c conda-forge mlflow
Afterwards, you can start the mlflow tracking server using mlflow server
Preparing your models
As a first step, you need to prepare and save your AI models locally. Generally, we can run into two types of scenarios: a basic one, in which you implement your model as a Python function; or an advanced one, in which you use an ML framework such as Keras, PyTorch or similar.
Using Python functions/classes as predictors
Save the following snippet as train.py and run python train.py to save the AddN class and its metadata as a model.
Using ML framework (Keras)
As you can see from the snippet below, in principle using a ML framework is very similar to the previous scenario. Again, save the snippet into a .py file and run it.
Check the run and logged model
You can view successfully saved model in the server's UI (http://127.0.0.1:5000)

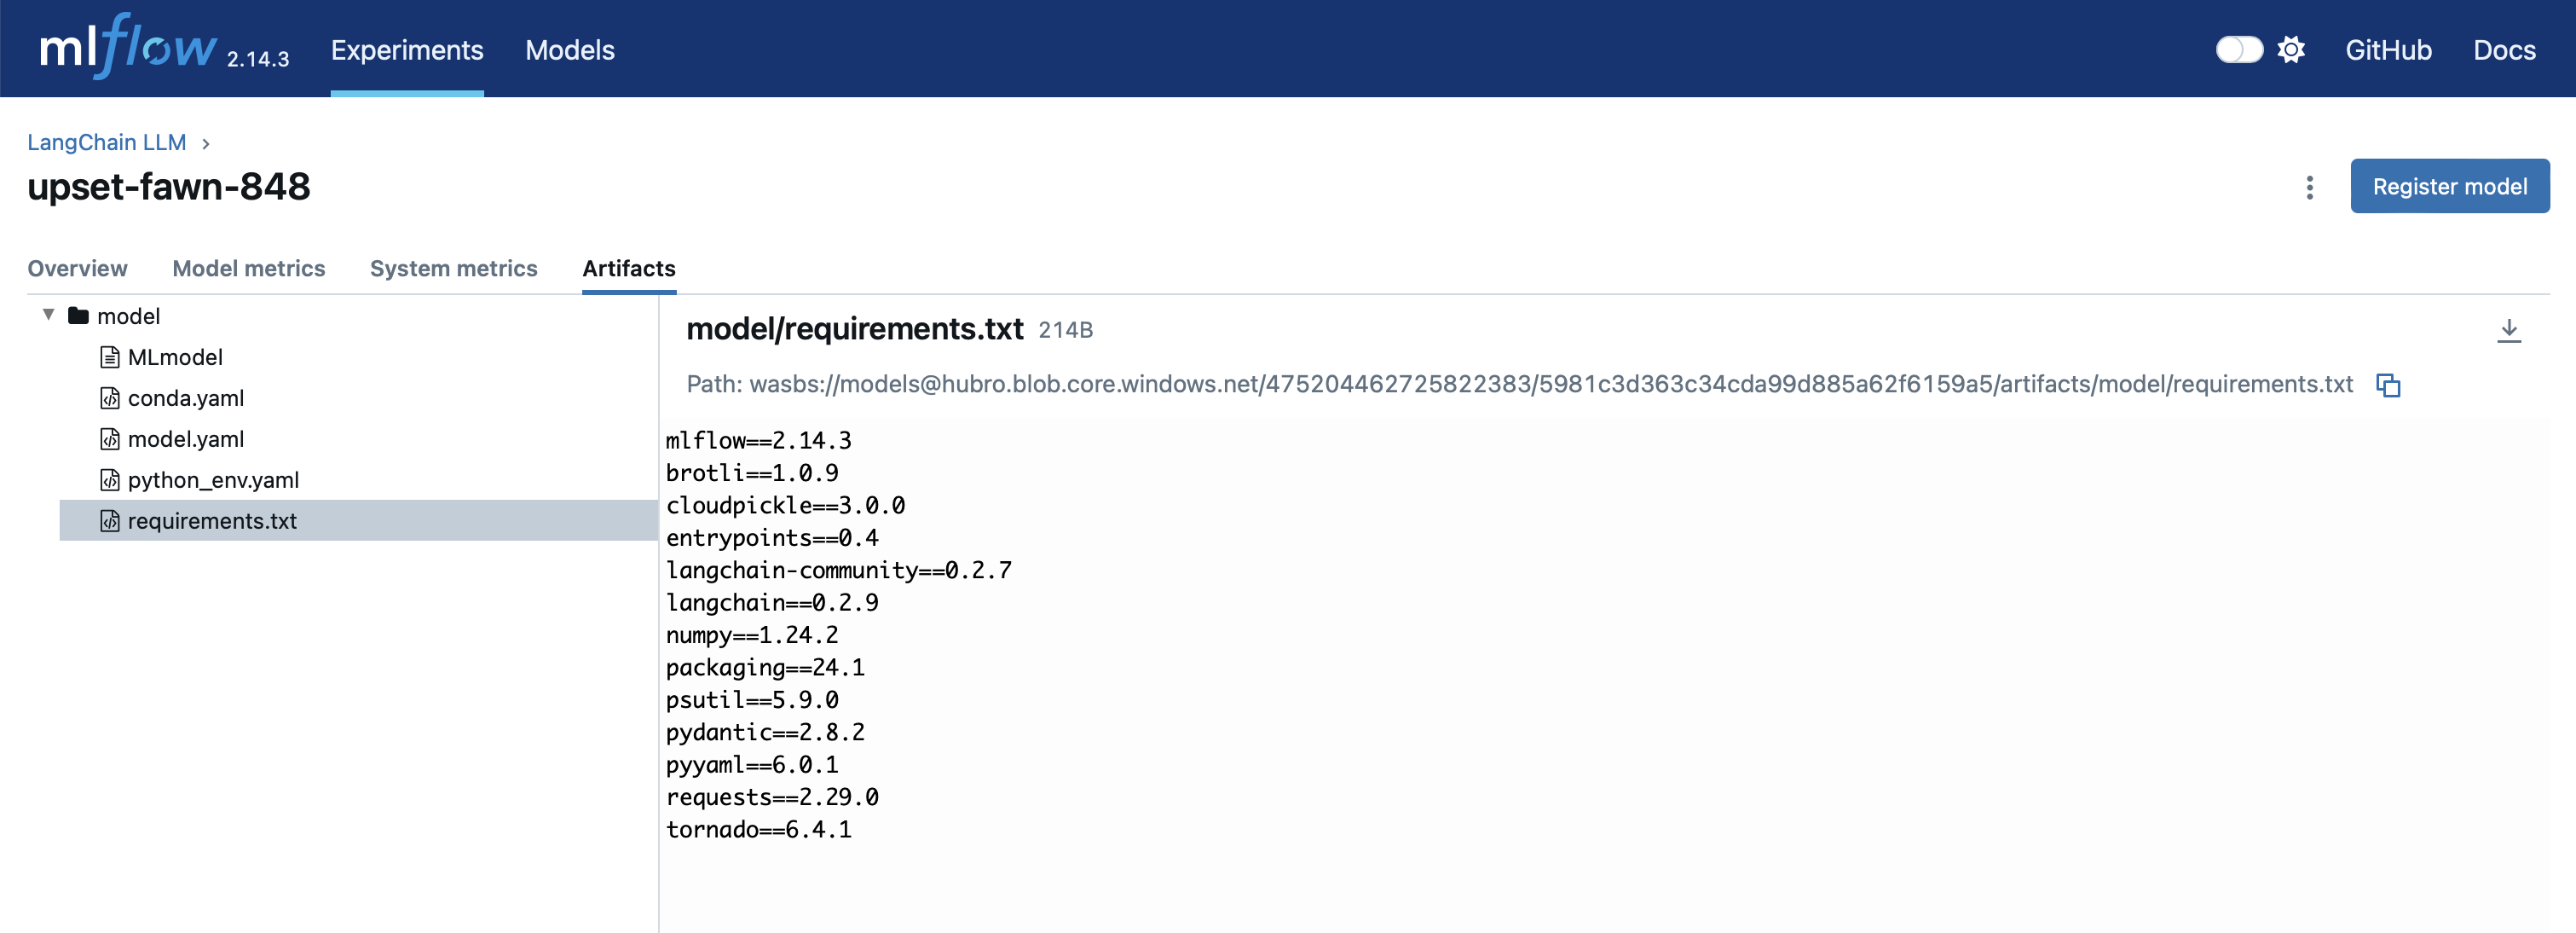
Resulting artifacts can be viewed by clicking on the Run Name, and by navigation into the Artifacts section. These files are defining requirements of the model, model's environment and the model itself.

Local serving of inference API
Logged model can be served locally on your PC/Mac by using the mlflow command below. This will export the REST API through which you can query the model.
Now you can invoke the curl command from your command line to call the inference API.
Deploying models to Hubro
The deployment to Hubro can be done either as a lightweight serverless deployment, where you only specify storage path to resulting or by building a full docker image and deploying it using KNative orchestrator.
Upload model to a public object storage
Deploy the following YAML file to your Kubernetes namespace
apiVersion: "serving.kserve.io/v1beta1" kind: "InferenceService" metadata: name: "mlflow-v2-wine-classifier" spec: predictor: model: modelFormat: name: mlflow protocolVersion: v2 storageUri: "gs://kfserving-examples/models/mlflow/wine"
Install mlflow-knative package
Deploy the following YAML file to your Kubernetes namespace
mlflow deployments create --target knative:/context \ --name deployment-name \ --model-uri models:/model-name/model-version \ --config image_repository=docker.io/mmuzny/test \ --config image_tag=latest \ --config service_template=service_template.yaml
By running the command above, the following sequence of steps will be triggered
A docker image with a name registry.hubroplatform.no/machinelearning/your-predictor-name will be built locally
This docker image will be pushed to registry at registry.hubroplatform.no and deployed to Hubro Kubernetes cluster
A Kubernetes ClusterIp service your-service-name will be created and will point to a newly deployed docker image
Interacting with your models through the app
Your deployed AI models are hosted behind Hubro's authentication layer i.e., they are not publicly accessible. The inference can be initiated directly from the application by the Hubro Connect API.
Notes on performance
Deployed models are orchestrated using Kubernetes engine and ultimately will consume system resources when running the inference. In most cases, a CPU power will suffice the inference engine requirements.